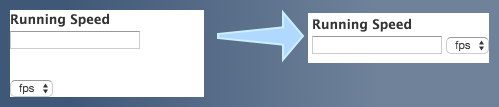
One of the not-so-nice aspects of Islandora XML Forms is that they take up a lot of vertical space, and many times that vertical space is unnecessary. Take, for instance, this section of a PBCore form for the Running Speed element. The version on the left has vertical space for:
select list for the unit-of-measure itself.The version on the right puts the unit-of-measure select list to the right of the text field, and in doing so eliminates half of the vertical elements. (It also just looks nicer, in my opinion.) XML Form gives us almost everything we need to accomplish this; add a little CSS injected into the admin pages and we condense the vertical space.
The goal of this set of form pieces is to add an element to the PBCore XML:
24 </code>
There are two parts of the form that create this element: a value ('24' in this case) and a unit ('fps'). The first is of type textfield and the second is a select, and the form fields are bound together using a markup type. (This technique is described more fully in the Creating and Working With XML Forms documentation and the Repeating Element with Attributes Example Form.)
The technique for adding user inputs to both a value and an attribute to an element requires a container of some sort -- markup, tabs and tabpanel, or fieldset. We can use this container to our advantage by assigning a CSS class to it that inlines the <div> elements it contains. In short, we're looking for something like this:
.form-group-inline .form-item { display: inline; }
Running Speed
fpsrpmips
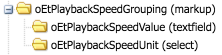
The divs with the form-item class are inside the div with the class form-group-inline -- and it is those two divs that we are going to be styled as display:inline so that they float next to each other.
The magic takes two steps. One is to set a div with the form-group-inline class surrounding the two field elements. To do that, we go into Advanced Form Controls tab of the markup grouping and set a prefix and suffix.
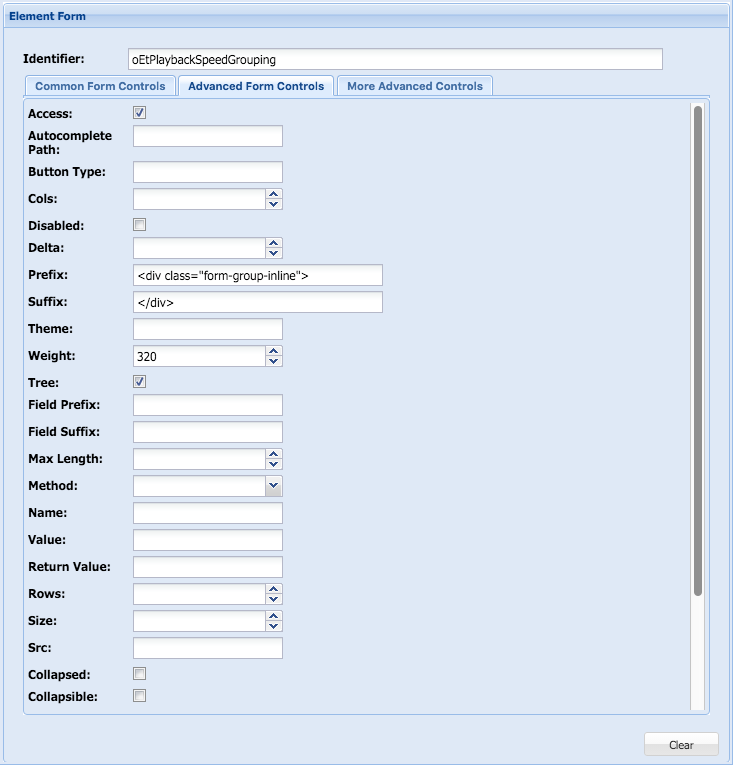
(Note that the fields are artificially widened in the screen shot to capture the full detail.) The Prefix and Suffix attributes allow us to insert markup into the Drupal form, and in this case we are inserting
. (The Weight value is used in this form to put the fields in a specific order, and is not relevant to this technique.)
Secondly, we need to insert the CSS styling into the Drupal page. One might think this is as easy as adding it to your theme's CSS, but at least in our case we are using a separate admin theme. So we inject it into the page through a module hook:
/**
 * Implements hook_preprocess_html().
 */
function librarydams_customizations_preprocess_html(&$variables) {
// Add conditional stylesheets for admin pages on admin theme.
  if (path_is_admin(current_path())) {
    drupal_add_css(drupal_get_path('module', 'librarydams_customizations') . '/css/admin.css', array('weight' => CSS_THEME));
  }
}
The admin.css file contains the same content we saw above:
.form-group-inline .form-item { display: inline; }